


Best Laser Level for Framing Walls
A framing layout goes wrong in a very specific way: each stud looks close enough with a bubble level, yet the plates, openings, and opposite wall no longer share one reference. Run the job as three checks in the room, not as one measurement on a single stud. Hold a level line for the plates, a plumb line for the studs, and the same lines at the door or window rough opening before anyone nails off.
The laser does not choose stud spacing, nailing schedule, or header size. It only gives you a repeatable reference. A two-line model can do one wall. A 3 x 360 model can keep that reference on every wall from one setup. This guide is for interior residential framing.

What framing jobs actually need
A wood-stud wall has to answer three questions at the same time. A bubble level can answer one stud at a time. A laser holds the same answer across the room.
- Are the bottom and top plates level with each other?
- Is each stud plumb?
- Do the rough openings stay square to those same references?
Why cross-line beats single-line
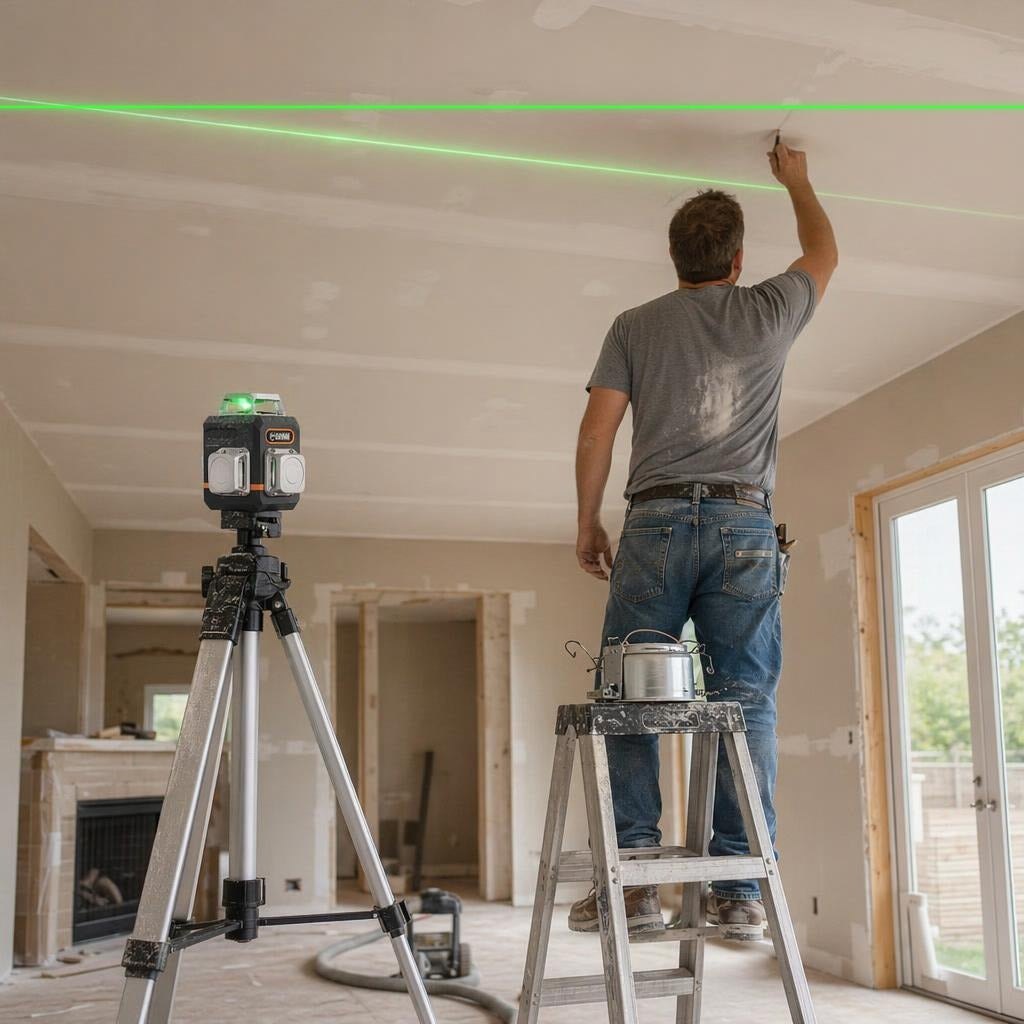
A single line forces you to set plumb, then reset for level. A cross-line laser keeps a horizontal line for the plates and a vertical line for the studs at the same time. A 3 x 360 model such as the CM-701 adds a second vertical plane, so the opposite wall and the openings stay on the same setup.
For a broader type comparison, see the laser level buying guide.
Which lines matter for which task
| Line | Framing use |
|---|---|
| Horizontal plane | Level reference for bottom and top plates |
| Vertical plane 1 | Plumb check on studs and corners |
| Vertical plane 2 | Opposite-wall consistency, door and window rough openings |
A rotary laser is not the default for interior studs. It earns its keep on a large outdoor site where the beam is too faint to mark and a detector is required. Inside a house, a cross-line or 3 x 360 unit sets up faster and stays readable without a receiver.
Which CIGMAN model works for framing
| CM-G01 | CM-701 | |
|---|---|---|
| Lines | 2 (one cross) | 3 x 360 |
| Coverage | One wall at a time | All four walls from one setup |
| Self-leveling range | ±4° | ±4° |
| Accuracy | ±3 mm at 10 m | ±3 mm at 10 m |
| IP rating | IP54 | IP54 |
| Power | AA batteries | USB-C rechargeable |
| Pulse / receiver | Not listed | Pulse mode for a detector |
| Best for | Single-wall tasks, occasional framing | A full room of walls |
The CM-701 is the stronger choice when more than one wall has to stay on the same reference. Set it once, then check plates, studs, and openings without walking the tool around the room. The CM-G01 is the one-wall tool: cheaper, two lines, and enough for a single partition if you accept the extra setups.
Do not buy the G01 for outdoor framing that needs a detector. It is not on the CIGMAN pulse-mode list. For ceiling work that shares the same room, use the laser level for ceiling work guide.

CIGMAN CM-701 3x360° Laser Level
- 3x360° green beam (1H + 2V), 100ft range.
- Self-leveling ±4°, accuracy ±3mm/10m.
- Remote control, USB-C rechargeable.
Setup that keeps the reference honest
The buying decision only matters if the line stays where you put it. Do the three checks in this order.
Step 01 Set the mount
On wood, stand the laser on a tripod or another surface that does not move with the wall. On metal, use a magnetic bracket on the steel track. Set the height so the horizontal plane crosses the plates you care about, and note a nearby jamb so you can tell if the stand moved.
Step 02 Set the plate line
Turn on the horizontal plane. Walk it onto both ends of the bottom plate, then check the top plate the same way. You are choosing one visible height the wall can share, not hiding a crown. If the two end readings disagree, reset the mount before you mark studs.
Step 03 Set the plumb line
Turn on one vertical plane and set it over the layout line on the plate. A stud that misses the beam needs to move before you nail it off. Use the second vertical plane for the opposite wall or a rough opening.


Before you nail, run this short check:
- The two end marks still match after anyone bumped the stand.
- Each stud you just set sits on the vertical plane.
- The door or window opening shares those same lines.
Metal track is a different mount
On a metal run, the same three checks apply. The only change is the mount: the bracket grabs the steel track so you can walk the run without picking the tool up. Do not hang the tool on a wall you are still nailing.

The specs that actually matter
Accuracy. The CM-701 listing gives plus or minus 3 mm at 10 m. That is the tool's stated performance under its stated conditions. Typical residential framing is judged much looser than that. The specification is not permission to skip a two-end check after the stand moves.
IP54. Framing happens before drywall. Dust will get on the housing. IP54 is the rating both CIGMAN models list for dust and light moisture. It is not a claim that the tool can sit in standing water.
Self-leveling range. Plus or minus 4 degrees is how far off-level the base can be before the compensator stops correcting. On a rough subfloor that is usually enough. If the beam flashes, the unit is still settling or outside that range. Follow the symbols on the tool, not a guess from the line.
Green vs red. Green is easier to see in a lit interior. For the color choice itself, see red versus green laser level visibility.
Frequently Asked Questions
Do I need a rotary laser for framing walls?
No. For interior residential or light commercial studs, a cross-line or 3 x 360 laser covers plates, plumb, and openings. A rotary laser is for a large outdoor site where you need a detector. Inside a standard room, the cross-line setup is faster to read.
What accuracy do I need for framing?
Typical residential stud work is judged around an eighth of an inch in ten feet. A laser listed at plus or minus 3 mm at 10 m is tighter than that. Survey-grade precision is not the requirement. A two-end check after any movement still is.
How many lines does a laser level need for framing?
At minimum, one horizontal line for the plates and one vertical line for the studs. That is a basic cross-line. Buy 3 x 360 when the opposite wall and the openings have to stay on the same setup without walking the tool around the room.
Can I use a laser level outdoors for framing?
Daylight washes the line out. A detector works only with a laser that has a listed pulse mode. The CM-701 is on that list. The CM-G01 is not. Do not treat the G01 as an outdoor framing tool.
What is self-leveling range and why does it matter?
Self-leveling range, typically plus or minus 4 degrees, is how far off-level you can set the base before the compensator stops correcting. On a rough subfloor that usually covers the setup. Beyond that range the beam flashes. Stop and reset the mount.
References
- [1] CIGMAN, "CM-701 3x360 Laser Level," CIGMAN. Open the current product page. Verified September 20, 2026.
- [2] U.S. Occupational Safety and Health Administration, "Laser Hazards," OSHA. Open the laser-hazards guidance. Verified August 31, 2026.
- [3] U.S. Occupational Safety and Health Administration, "29 CFR 1926.54 Nonionizing Radiation," United States Department of Labor. Open the regulation. Verified August 31, 2026.



Leave a comment
This site is protected by hCaptcha and the hCaptcha Privacy Policy and Terms of Service apply.