


How to Use a Laser Level for Beginners
Short answer: To use a laser level, put it on a stable support, release the transport lock, let the unit finish self-leveling, select the line you need, and mark the beam only after it is steady. Then check the marks from a second position before you drill, cut, or install anything. That sequence turns a laser level from a confusing light into a reliable reference for a real project.
This guide is for a first-time user completing one job, such as hanging a shelf or setting cabinets. It covers laser level basics, setup, marking, verification, and the common blinking-line problem. The primary topic is how to use a laser level; the method applies to cross-line and full-room self-leveling models.
What a laser level does
A laser level projects a visible line or plane as a fixed reference. A horizontal line gives the same elevation along its path, while a vertical line gives a plumb reference. A cross-line setting shows both. The tool does not make a wall, floor, or ceiling straight; it shows the difference so you can measure and correct it.
A floor can slope across a room while remaining smooth. Follow the laser reference, then decide how much of the surrounding surface you want to match.
Choose the right kind of laser
- Cross-line or multi-line laser: Use a horizontal line for shelves, cabinets, tile courses, and trim. Add the vertical line when you need a plumb edge or a square layout.
- Rotary laser: Use this when you need an elevation reference around a large outdoor site. A line laser may suit an indoor room or a short layout.
- Bubble level: Use a bubble level for a quick check on one short edge, or when the object itself is the only thing you need to check. A laser is useful when the same reference must cross a room or reach several objects.
Start with the project rather than the number of lines. Our laser level buying guide compares coverage and mounting options.
Prepare your first setup
Place the unit where the beam can reach the marks without stretching around furniture. A tripod is useful for a particular height; a sturdy bench, counter, or floor works for a short indoor layout. Avoid soft cushions, scrap wood stacks, or soil that can settle.
Before powering on, find the transport lock. It protects the internal leveling assembly during transport. It is separate from manual or diagonal mode. If engaged, a self-leveling model may flash or refuse to settle. Release it according to the markings on your unit.
How to use a laser level step by step
Step 1. Stabilize the unit and release the lock
Set the base down, tighten the tripod head or bracket, and make sure nothing touches the stand. Clean the contact surface before using a magnetic bracket. Keep the controls reachable without leaning against the tripod.
Move the lock switch to the released position before selecting self-leveling mode. If you must move the tool, lock it first, then release the lock at the new position. A shift after marking changes every dependent point.
Step 2. Turn on the line and wait for a ready indication
Switch on the required line and watch the indicator described in the manual. A steady line or ready signal means the unit is ready. A flashing line, warning tone, or out-of-level indicator means stop and correct the setup.
Do not mark while the unit is settling. If the base is beyond the self-leveling range, adjust the tripod or move to a flatter support, then wait again. Never hold the housing at an angle while marking.
Step 3. Select the horizontal or vertical line
Use the horizontal line when the task asks for a common height. Examples include a shelf rail, the top of a backsplash, or a row of picture hooks. Use the vertical line when the task asks for a straight upright edge, such as a cabinet side, a stud reference, or the center of a fixture. Use both lines when you need to square a layout.
Stand where you can see the working section. If a post, cabinet, or corner blocks the beam, mark one visible section and use a target card or a new viewpoint for the next.
Step 4. Make a reference mark
Use a sharp pencil and make a small tick at the center of the beam, not at the edge of its glow. On a rough wall, mark low-tack tape. Write the intended measurement beside the tick.
For a long run, mark opposite ends before adding intermediate marks. If the beam crosses a corner, mark each wall separately. A laser gives level or plumb, not proof that two walls meet at 90 degrees.
Step 5. Transfer the line to the project
For a shelf, align the mounting rail or fastener centers with the marks and pencil each fixing point. For pictures, mark the hook height. For cabinets or tile, use the horizontal line as the starting course and the vertical line for the first edge.
Measure offsets from the beam. If a shelf sits below the reference, measure the same drop at both ends. Mixing a sloping floor datum with the beam creates two different reference heights.
Step 6. Check before you commit
Leave the tool in place and compare the planned installation with the beam. Then make an independent check: a bubble level for a short edge, a square for a corner, or a tape measure for an offset. This checks your marks and setup.
To reach another wall, mark a control point first. After moving the unit, re-level it and project the same line through that point. If the beam misses, reset the tool and repeat; do not average two lines.
A complete first project for a shelf
A shelf is a useful first exercise. Decide the height and bracket positions. Clear the wall, place the laser on a stable support, release the lock, wait for the horizontal line to steady, and mark both bracket locations.
Transfer the bracket offset from the laser line at each location. Hold the brackets in position and mark the fasteners. Before drilling, check the intended shelf edge with a bubble level. If the checks disagree, inspect the support, lock, and selected line.
After fastening, place the shelf on the brackets without loading it and inspect the front edge from several positions. It can be truly level yet look tilted beside sloping trim. Choose the true level or a visual feature, use that reference consistently, and follow the shelf manufacturer's load instructions.
Flat is not the same as level
Level describes a horizontal relationship to gravity. Flat describes a surface without high or low spots across the area checked. A floor can be level but have a local hump, or be smooth while falling toward a drain. A laser shows elevation along its beam; it does not measure every surface defect.
Use a straightedge for a short dip or crown and a laser when distant points must share an elevation. For flooring, tile, or a countertop, establish the reference with the laser, then inspect the substrate using the material instructions.
When a bubble level or receiver is useful
Use a bubble level for short checks
A bubble level is quick for one cabinet edge, short shelf, or handheld part. Use it after the laser layout as an independent check on a small edge.
Use a receiver when the beam is hard to see
Bright daylight can wash out a line that is easy to see indoors. A compatible receiver detects the beam at its sensing window and reports its position through a display or sound. Follow its instructions and confirm compatibility with your line laser.
For outdoor work, mount the laser securely and establish a control mark before walking around the site. See our guide on using a laser level outdoors. For a vertical wall check, see how to check whether a wall is plumb.
Troubleshoot a blinking or wrong-looking line
Failure scenario: the line keeps blinking
You place the tool on a table, switch it on, and the line flashes. Turn it off, check the transport lock, move it to a firmer support, and wait for the ready indication. If it still warns, consult the manual. The base may be outside the self-leveling range, the unit may be in manual mode, or the tool may need service after an impact.
Failure scenario: the marks disagree after a move
Do not erase one set of marks and choose the midpoint. Recheck the selected line, lock, and tripod. Re-establish one control mark and transfer the line again. If the discrepancy remains, stop and perform the accuracy check in the manual.
Failure scenario: the finished work looks crooked
Compare a short edge with a bubble level. If it is level but appears to lean toward sloping trim, the visual reference is the problem. If the check fails too, inspect tool movement, beam-edge marking, and shifting during fastening.
A CIGMAN option for first projects
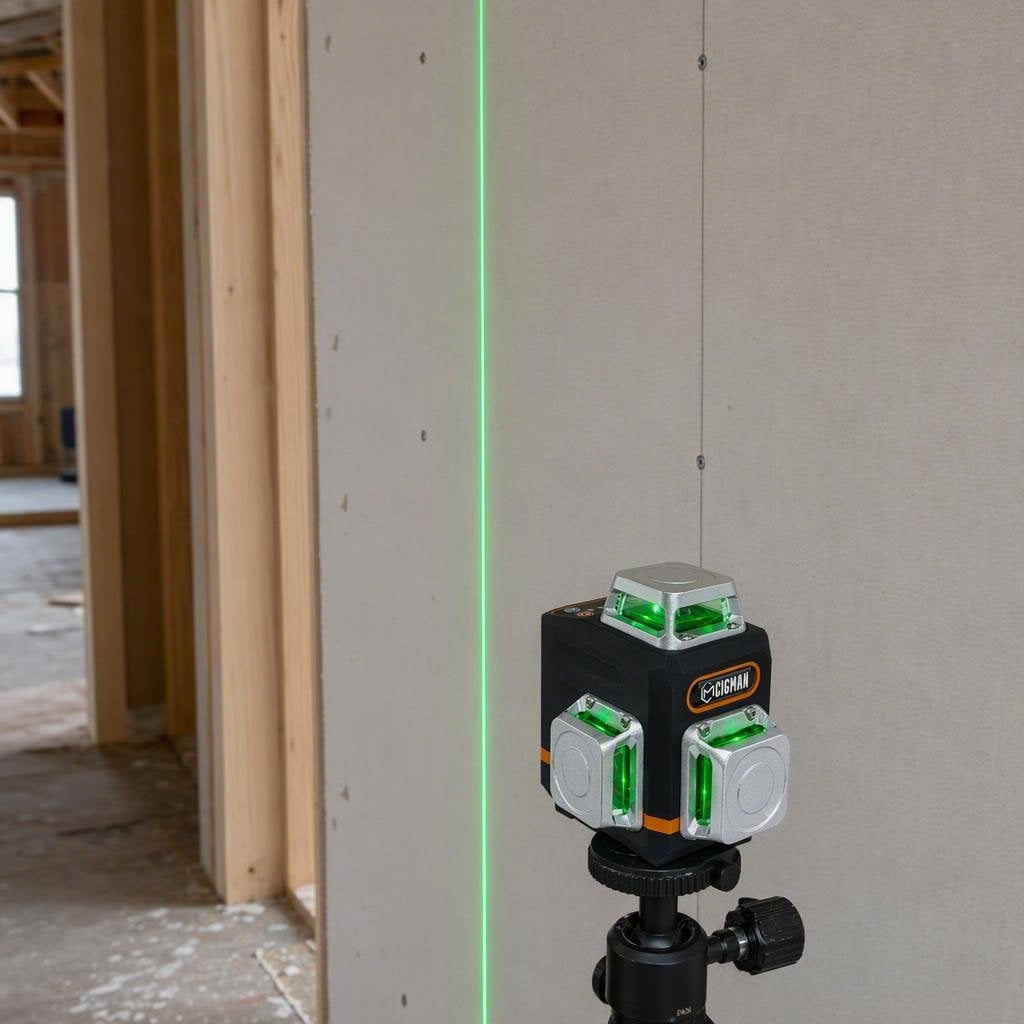
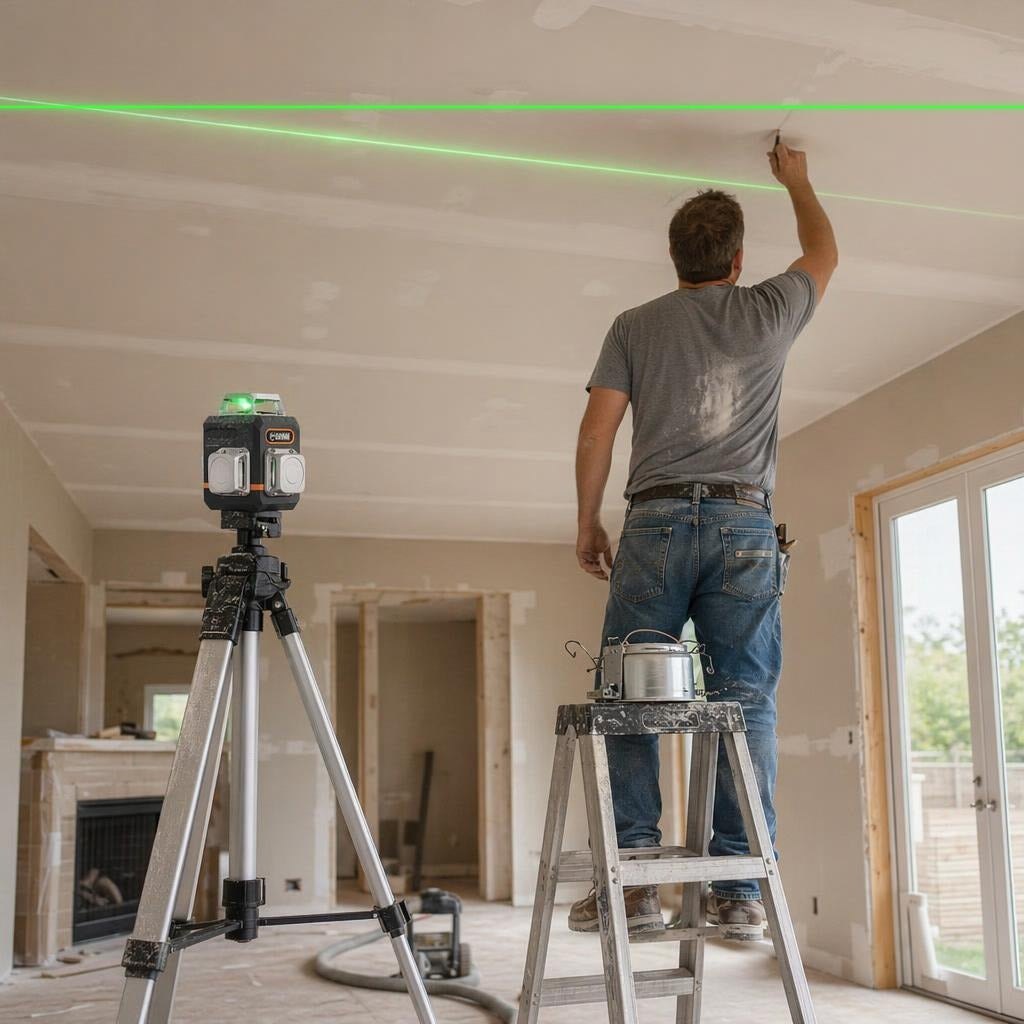
The CIGMAN CM-701 is a 3 x 360-degree green beam laser level with one horizontal and two vertical planes. Its product specifications list self-leveling within plus or minus 4 degrees, accuracy of plus or minus 3 mm at 10 m, remote control, USB-C recharging, IP54 protection, and a magnetic L-bracket [2]. Check the product page for current details.

CIGMAN CM-701
3 x 360-degree laser coverage for indoor layout
- One horizontal and two vertical green planes
- Remote control, USB-C recharging, and magnetic L-bracket
The CM-701 fits a setup that needs several walls or both horizontal and vertical references. It is not a substitute for a rotary laser on a long outdoor elevation network. Match the tool to the task, then use the verification steps above.
Frequently asked questions
How does a laser level work?
It projects a line or plane that you use as a reference. In self-leveling mode, an internal leveling mechanism positions the projection relative to gravity, then the line can be transferred to walls, floors, or ceilings. The exact controls and warning signals vary by model, so use the supplied manual.
Why is my laser level blinking?
Check the transport lock, the selected mode, and the stability of the support. A blinking warning can mean the tool is still settling or is outside its self-leveling range. Use the model manual for the exact indicator pattern.
Do I still need a bubble level?
Often. A bubble level is a convenient independent check for a short edge, while the laser is useful for transferring one reference across distance. They answer related but different questions.
What should I do if the laser line is hard to see outside?
Move the work to lower light when practical, shade the target, and use a receiver that the laser manufacturer lists as compatible. Never mark a line you cannot detect or verify.
References
- [1] U.S. Occupational Safety and Health Administration, "29 CFR 1926.54 Nonionizing Radiation," United States Department of Labor. Open the regulation. Verified August 31, 2026.
- [2] CIGMAN, "CM-701 3x360 Laser Level," CIGMAN. Open the current product page. Verified August 31, 2026.
Get Professional Accuracy on Every Project
The CIGMAN CM-701 3x360° Laser Level for $149.99 offers 3x360° green beam (1h + 2v), 100ft range.
Shop CM701 for $149.99 →



Leave a comment
This site is protected by hCaptcha and the hCaptcha Privacy Policy and Terms of Service apply.